
Gravenger Hacks - Phone Data to Garmin - by Forrest Murphy
Gravenger Hacks 1 - Send Point to Garmin in the Field
Forrest Murphy
After three days out on the Gravenger Hunt, one thing I’ve realized is that I’d really like to be able to zap the location of the next QR code directly into my Garmin bike computer. My phone works great, and I even have a handlebar mount that is reasonable when the points are close together. However, it’s not ideal in bad weather and battery life is an issue. When points are far apart, it would be awesome to be able to use my Garmin to navigate instead.
I spent some time looking into this and came up with the following - I know it looks convoluted as you read through this document, but that’s mostly because I’m trying to show every single step. It’s actually pretty easy once you’ve done it a few times. It’s definitely WAY easier than trying to copy the point into RideWithGPS and creating a route on the fly or similar hacks (I know, I tried that first!) For sure it’s not ideal, but seems reasonably workable in the field. I will probably save this for when there is a long “transfer” between points. This will let me track my progress towards the next point continuously, and then I can get my phone out for the final steps.
I’ve tested this on my Garmin 530 and I assume it will work on any of the later generation Garmin devices (520, 530, 1020, 1030, etc.)
Step 1 (at home ahead of time): load the software
1a: On your phone’s web browser (Chrome or whatever), go to www.sendpoints.us
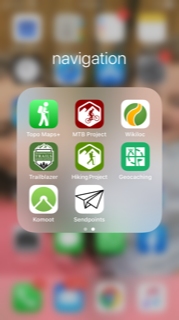
Create a bookmark for this page or you can even create a home screen icon shortcut for it (it’s the paper airplane in the image below)
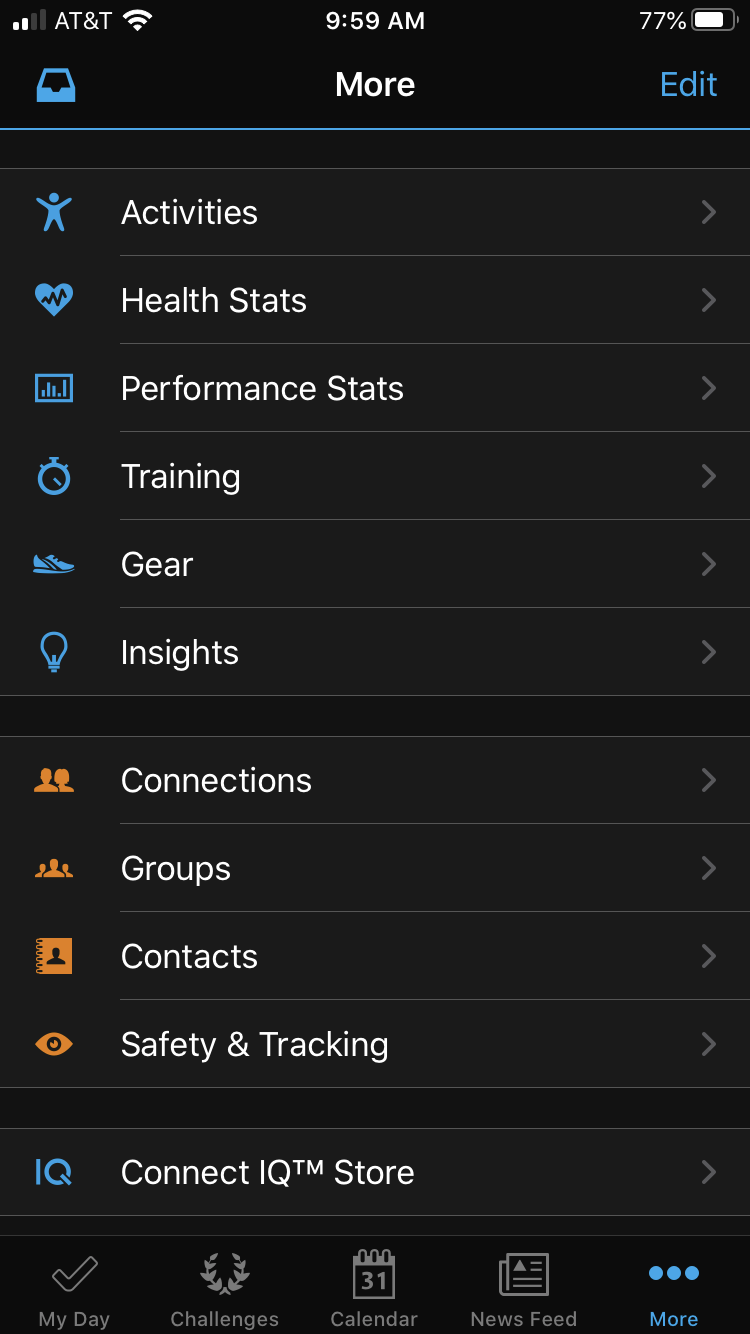
1b: Open Garmin Connect on your phone, press the “...MORE” icon in the lower right corner, then select “Connect IQ Store”.
1c: On the store, search for the Sendpoints app by daniel.siwiec.
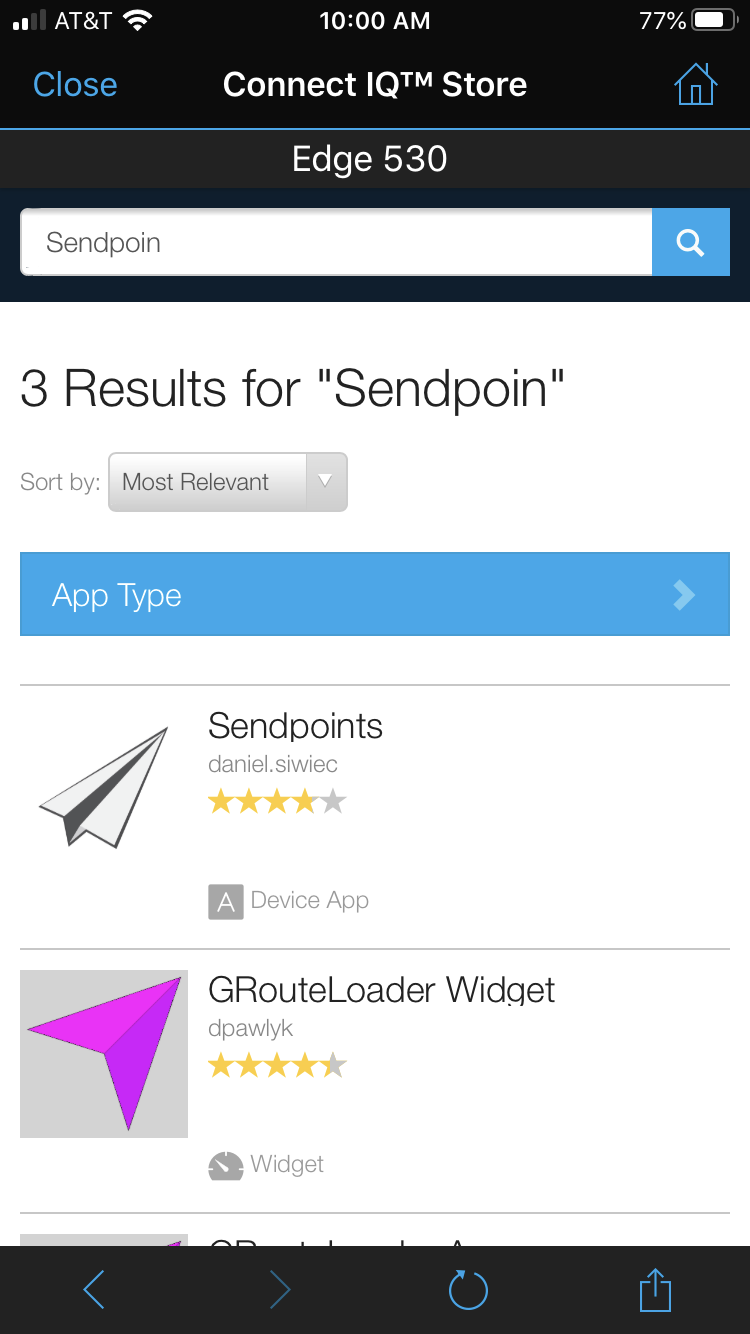
(Not a big software company, just one guy in new jersey writing apps as a hobby, I corresponded with him through the Garmin IQ forums before loading the app onto my computer, so I know it’s a real person - a cyclist, even!)
(It’s a free app, but if after testing it out you find it useful, you should use paypal to send a few bucks to the developer: https://www.paypal.com/paypalme/DavidPawlyk)
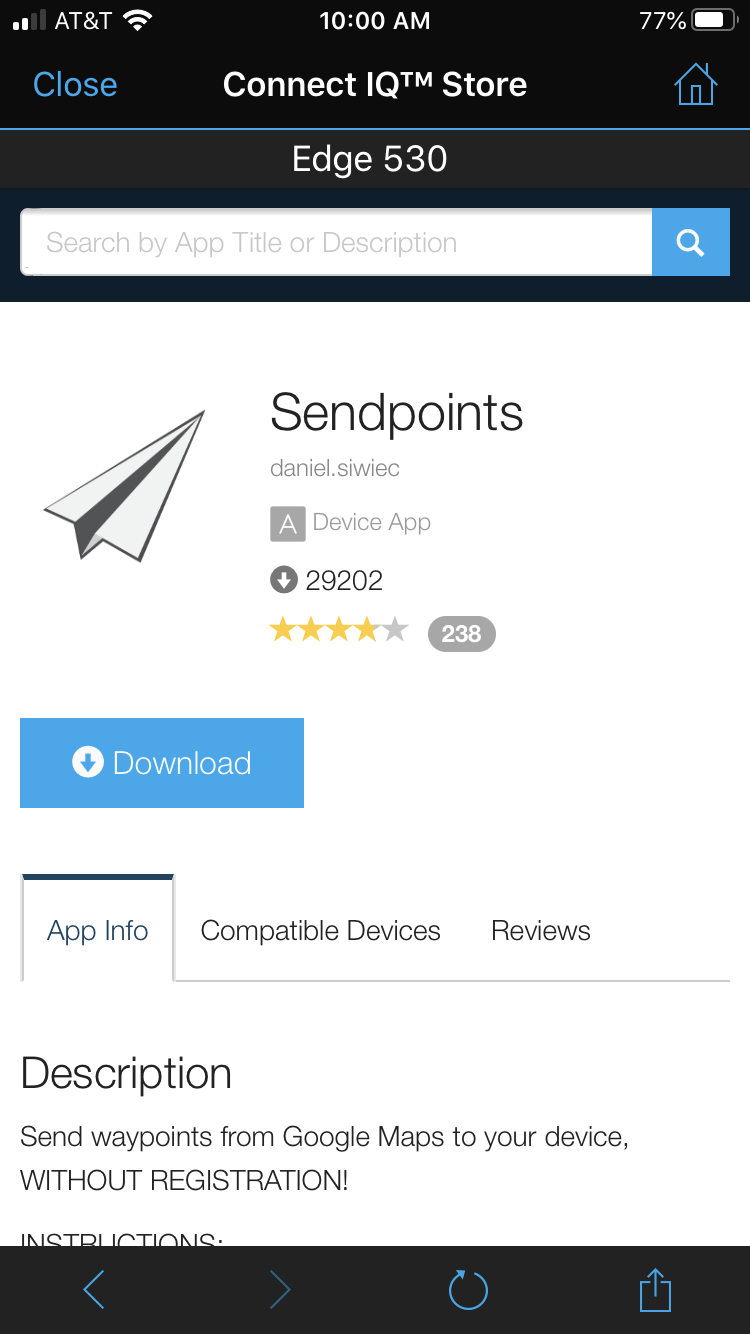
1d: download the IQ app; it will get loaded onto your Garmin the next time you sync with Connect
Step 2 - (in the field): on your phone
2a: find the QR code and scan it with your phone, it should open as a dropped pin in google maps
2b: scroll down the screen; towards the bottom you’ll see 2 long numbers in parentheses, separated by a comma. This is the latitude and longitude of the next point.
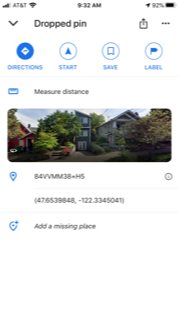
2c: copy these numbers as a single item (on the iphone, just tapping them once will automatically copy them to the clipboard in a single step)
2d: now click your sendpoints shortcut, tap on the entry box, paste the coordinates in. If the coordinates come in with the parentheses, you will need to delete them with the backspace key.

2e: hit RETURN and the screen will change to show the pin location on a map.
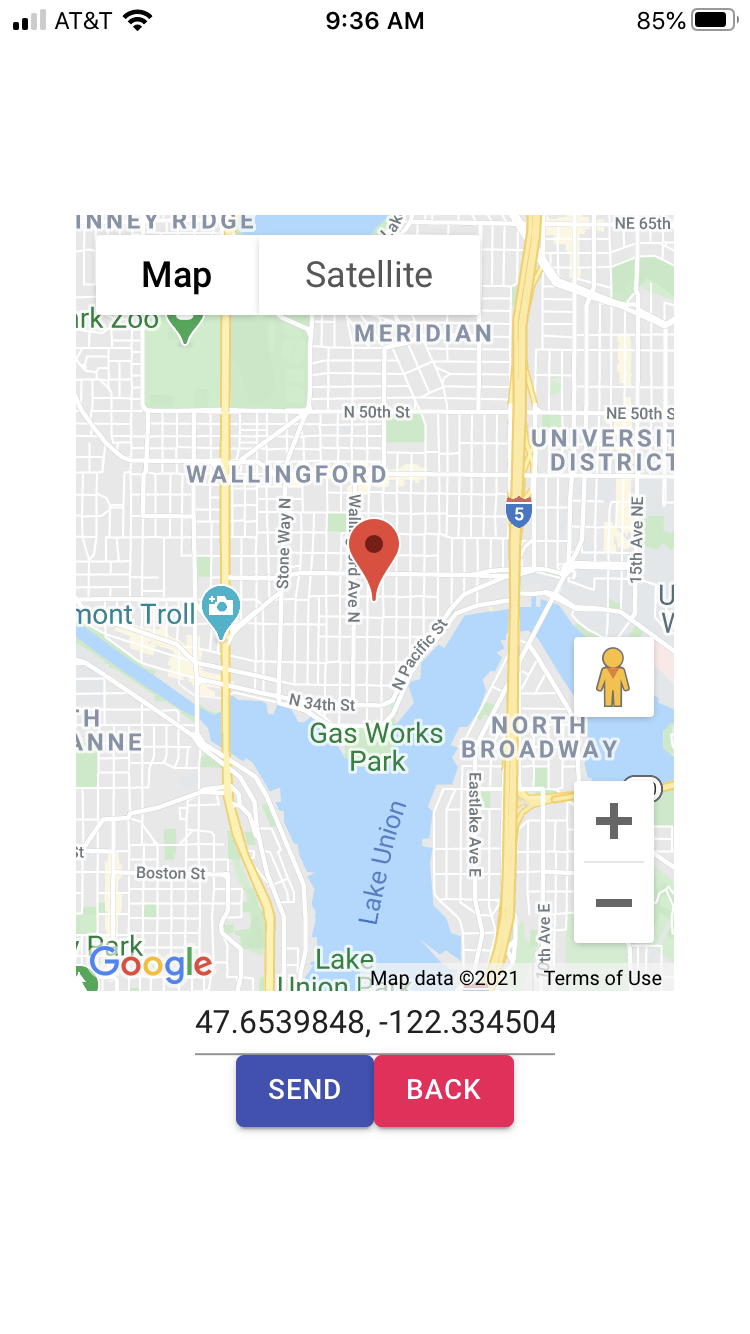
2f: hit SEND and the screen will display a 4-digit code

What the sendpoints website does is simply add your coordinates to a table stored on the web and assigns a 4-digit reference code to them; the sendpoints IQ app then uses the 4-digit code to retrieve the latitude and longitude coordinates from the web and stores them as a “location” on your Garmin. Importantly, the 4-digit code isn’t permanent - it will eventually get overwritten by other people using the site; however, it will last for a few hours or days at least
Step 3 - (in the field): on your garmin
3a: make sure your garmin is connected to your phone, usually by having Garmin Connect open when you turn the Garmin on. (I’ve found that if the Garmin is already running, if I turn bluetooth off and then on again on my phone, it will kickstart the connection)
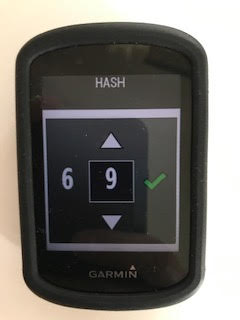
3b: open the Sendpoints IQ app (MENU -> CONNECT IQ -> SENDPOINTS)

3c: use the arrow keys to enter the 4-digit code you just created
3d: Location is now in your Garmin - almost there!

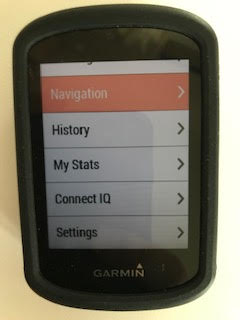
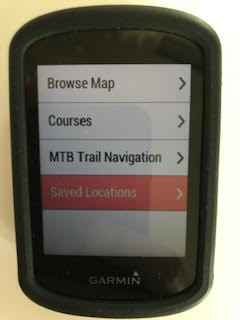
3e: Back out and go to the NAVIGATION menu, then select “SAVED LOCATIONS”
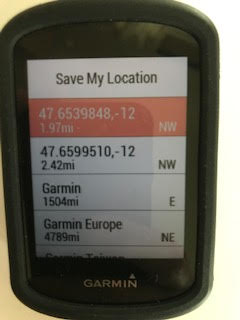
3f: select the latitude and longitude you just sent over, it will be the top one on the list:
3g: Now select VIEW MAP and it will open the pin on the garmin’s own map:

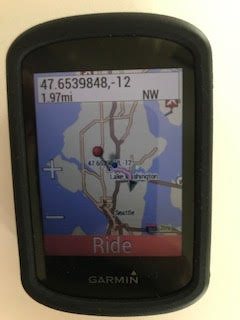
3h: press enter one more time and the garmin will auto-route from your current location to the pin. It will generate turn-by-turn directions, but if you want to follow a different route, you will be still able to see your location relative to the pin as you travel:

YOU ARE DONE! RINSE AND REPEAT AS NECESSARY! As a bonus, you have now saved the QR code location in case you lose it from your phone or something.

Comments
Post a Comment